How to Make a Glam Clipboard
how to make a glam clipboard
Category: Lifestyle
Read Time: 2 minutes
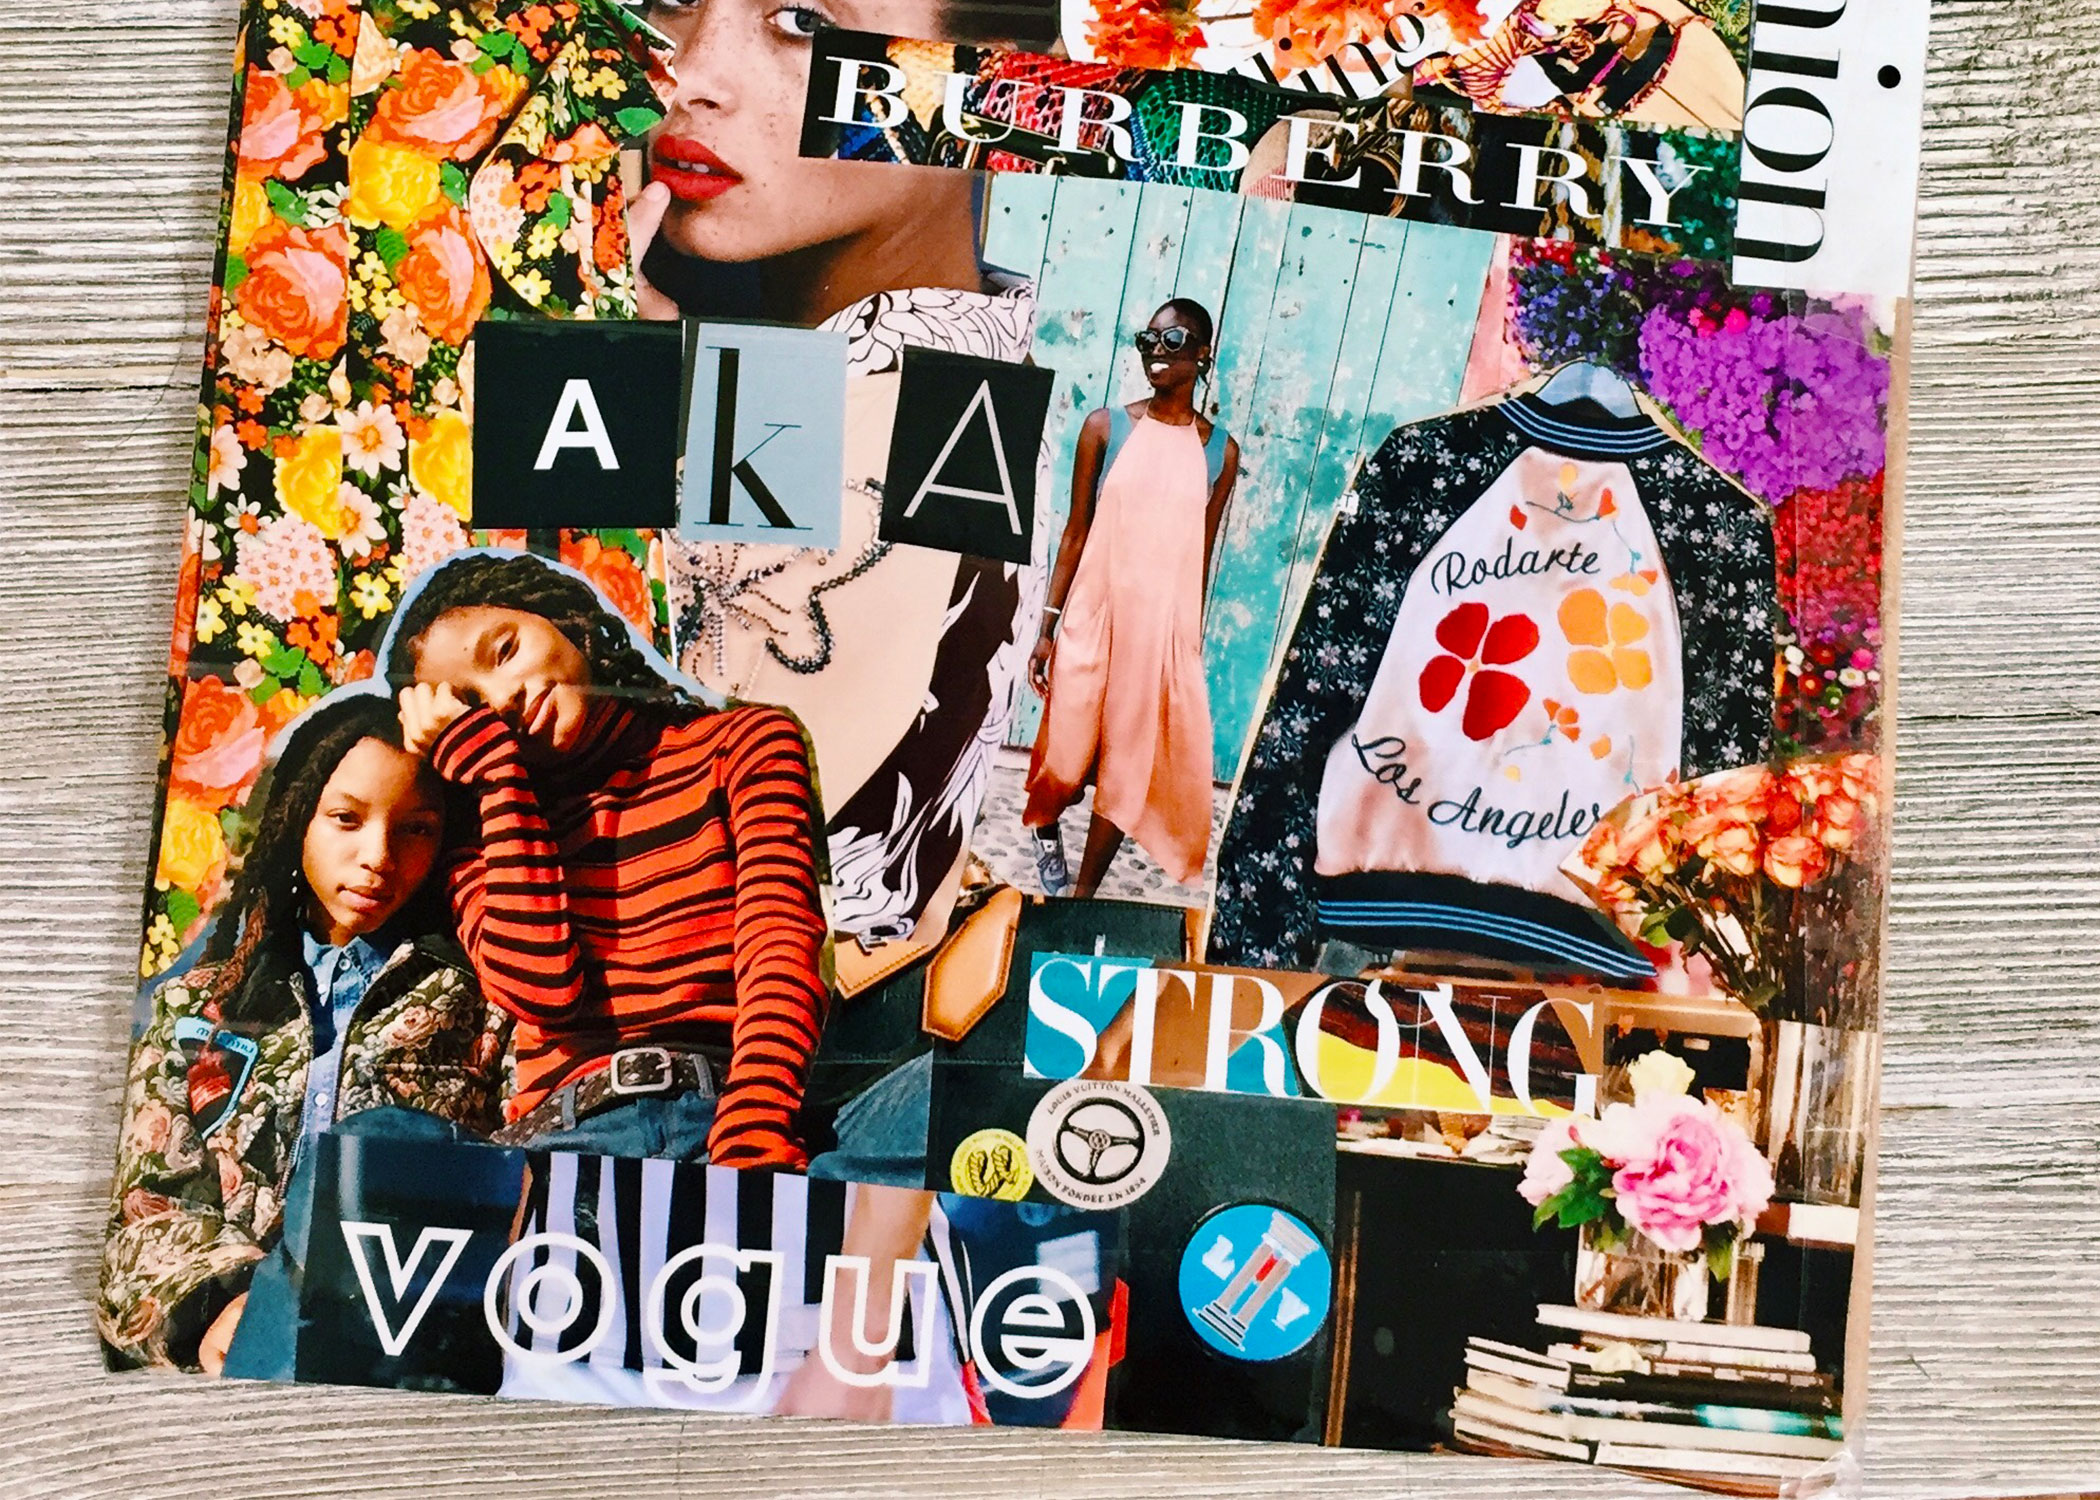
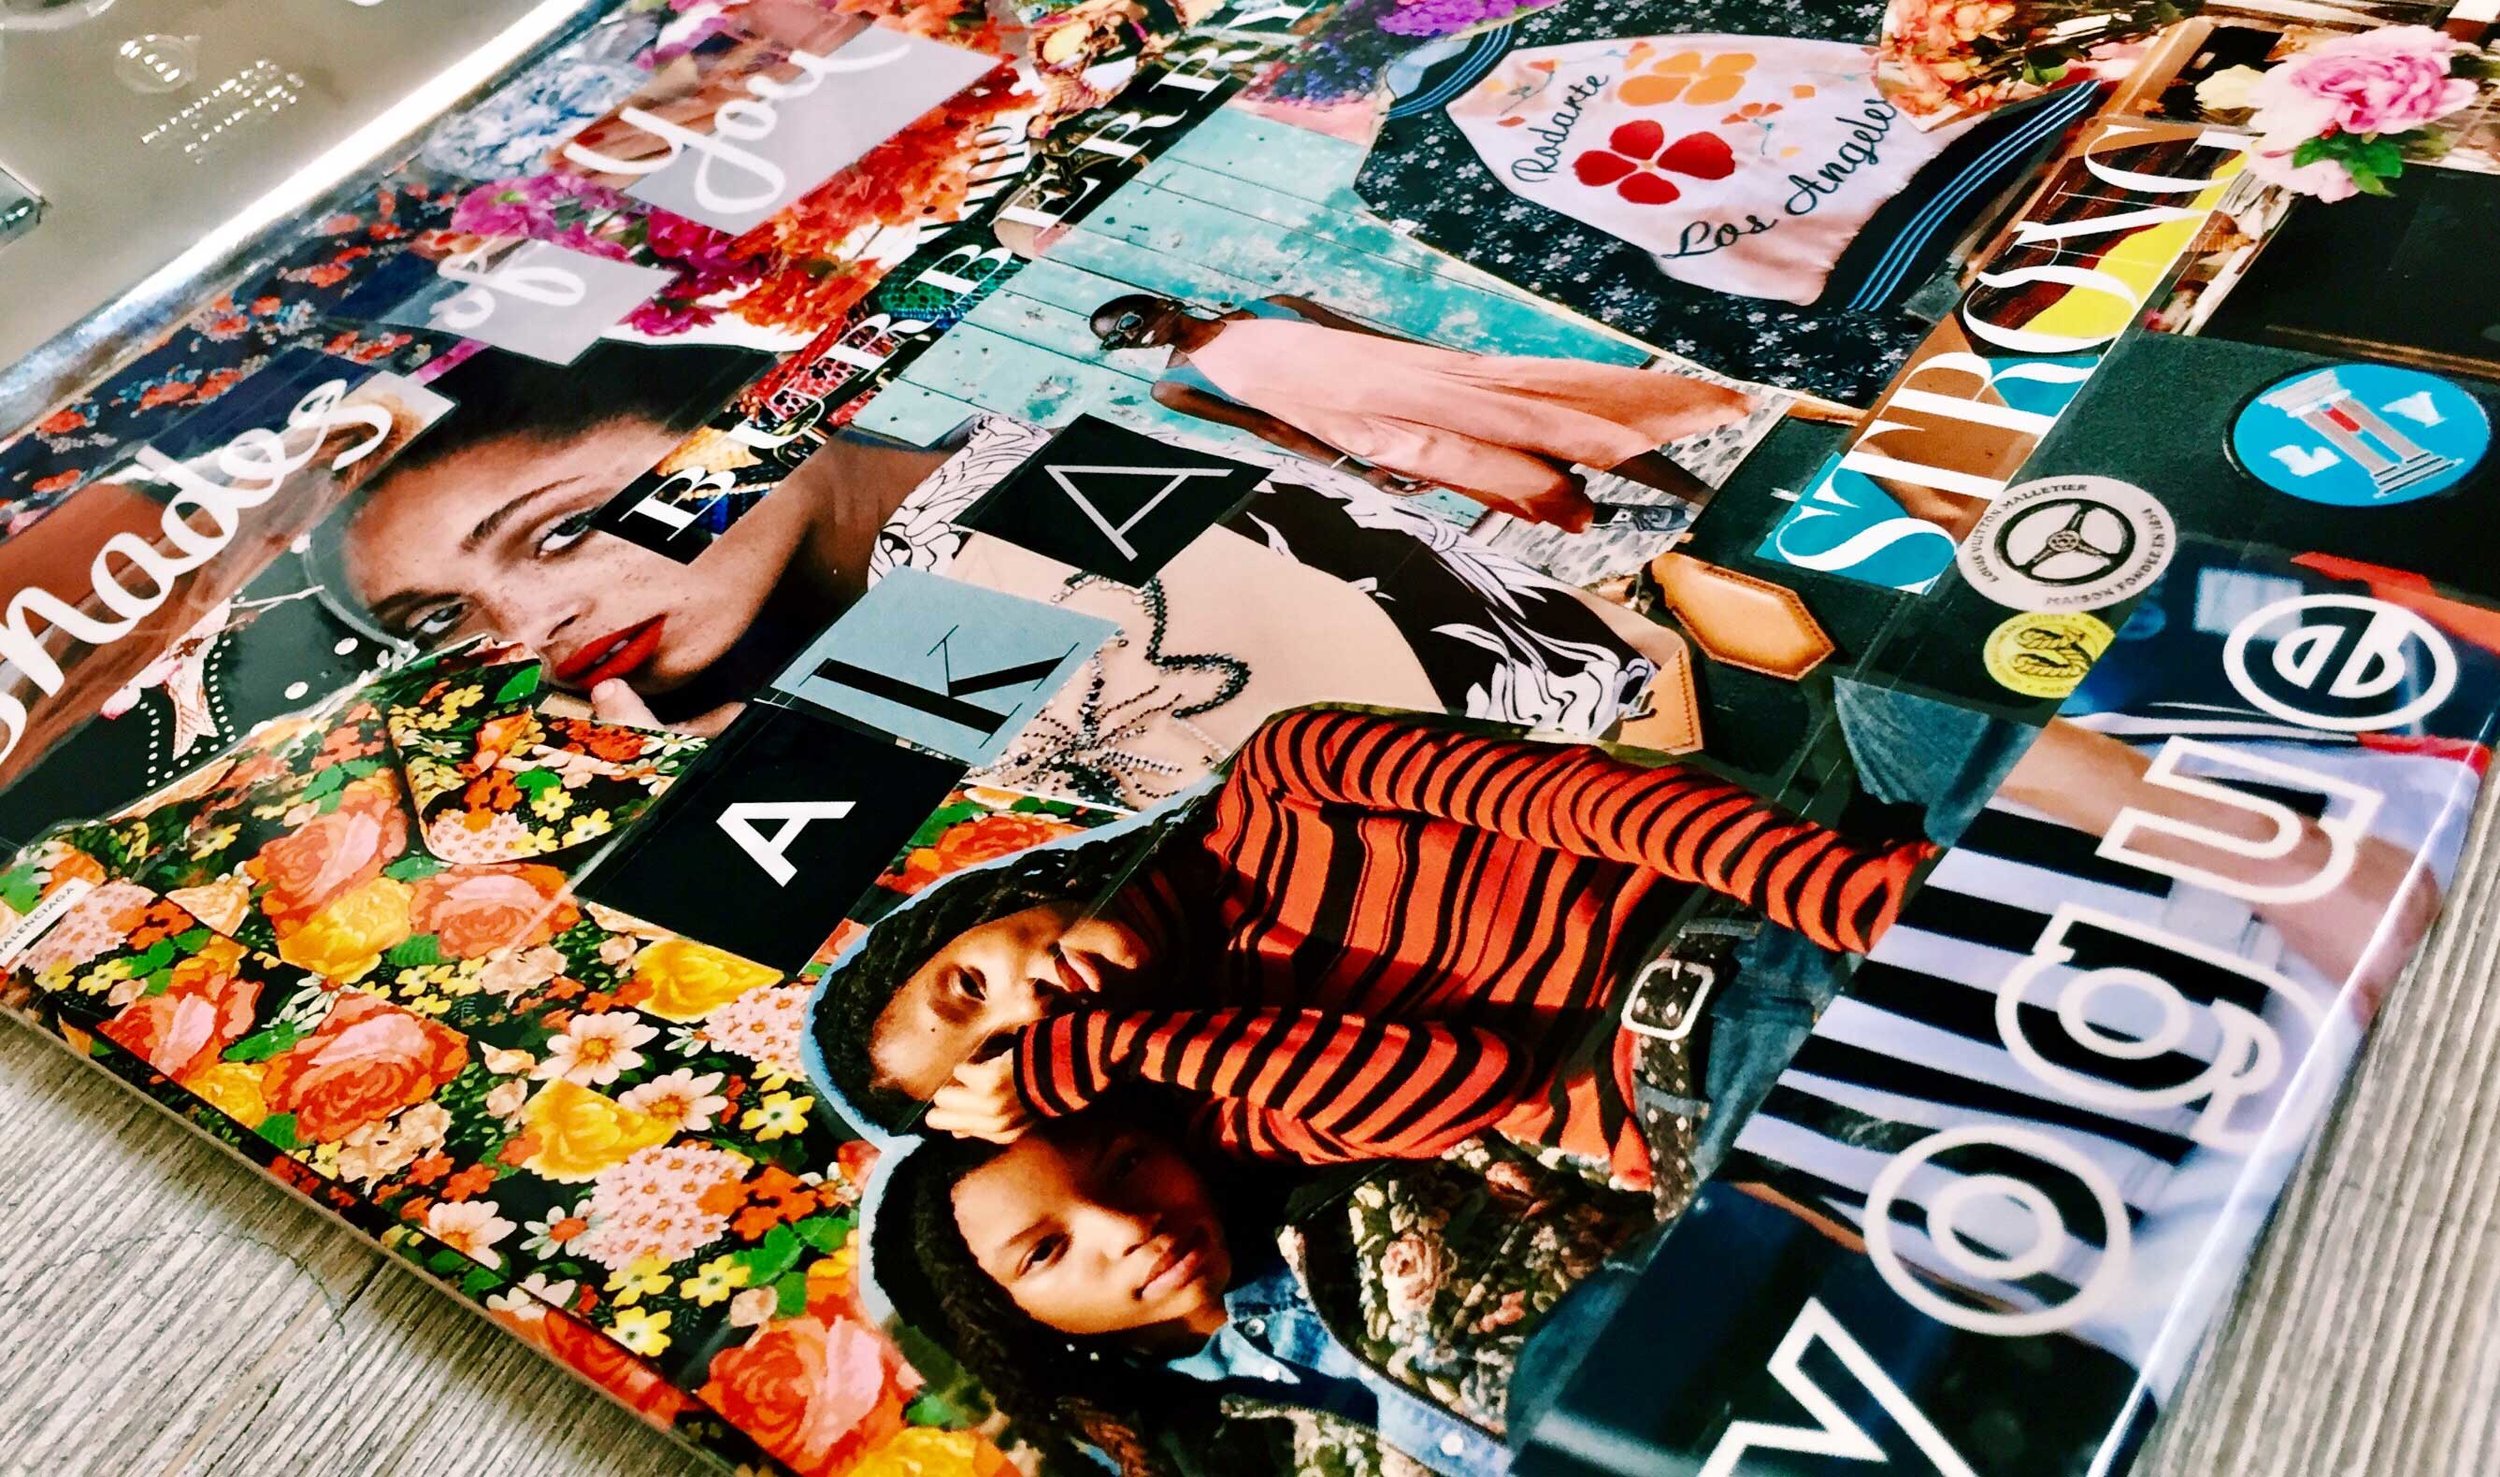
Okay, look. Can we just stop and admire this glamorous clipboard?
But like, honestly.... I am in shock how well this turned out. Let me give you the background story. Surprisingly, this beautiful bundle of cut up magazines and wood wouldn't have been a masterpiece without a handy-dandy team-building project (and who doesn't like those?).
The goal of the exercise was to pull an anonymous name from a hat and then design that person's "DREAM CLIPBOARD" which in reality is kind of lame and not really efficient because
1. The world is going heavily towards technology vs paper and
2. Does anyone really sit in their beds at night and wish for a specific type of clipboard?
But, like all team-building projects, after complaining, grunting, groaning, and completely procrastinating, I realized how much fun this project was to put together.
And hence my tagline, I love being a Creative babe.
Therefore, if you are stuck making a team-building project, a present, or simply have always dreamed of having a clipboard plastered with magazine cutouts - this is your lucky day, friend.
materials you’ll need:
- clipboard (whatever size you prefer)
- scissors
- glue
- clear packaging tape
- a stack of magazines that really speak to the "aesthetic" you're going for.
The aesthetic of the girl I was designing for is a mix of designer brands, girly things such as flowers, and black-girls-rock models.
So I *luckily* found a random stack of designer magazines in the lobby of my dorm and went to cutting.
STEP 1: find and cut ABOUT 20 collage pieces from your MAGAZINES.
Take time when doing this, this is a fun part! The key to selecting good pieces is to pay attention to size, texture, and color. If all of your pieces are too big, you won't be able to fit as much stuff on there and your board can go from chic to very elementary and cheesy. Too many little pieces will make your board look busy and extremely cluttered. Therefore, it's important to find a mix of both large and small pieces so you can cover area while adding different dimensions. The color and texture is all up to you, but some ideas you can use are:
- A color scheme (such as warm tones, cool tones, creams, etc.
- A category scheme (models only, clothing only)
- Real perfume! (the sample kind that comes in magazines haha)
After cutting out all of your pieces, here comes the fun part -
Step 2: build the collage!
What I did was put the glue stick away and not touch it until I was 100% satisfied with my collage. Before that, I took my large pieces placing them first as the center of attention, and then built my smaller pieces around it to fill space and any weird gaps.
Step 3: Glue it down & then go over it with clear masking tape
After getting it where you like it, then I recommend you gluing it down before going over it with masking tape.
I didn't glue mine down and had a bit of difficulty keeping them in the right place.
After that, trim the ends, make it look pretty, and wa-la! You got yourself a Grade-A DIY Fashion Clipboard to make all the boys and girls drool. (Not really... actually in reality about 2 people in your life will actually care lol).
I actually enjoyed this project so much I kept it for 2 extra weeks before giving it to my person just so I could stare at it in my room. I was really sad to see it go.
No worries though, I found an extra clipboard when I was moving out of my dorm room. We know who's going to be needing more magazines soon...
Stay crafty (and glam),
- Corporate Queen
__
1 Corinthians 10:31
So whether you eat or drink, or whatever you do, do it all for the glory of God.


